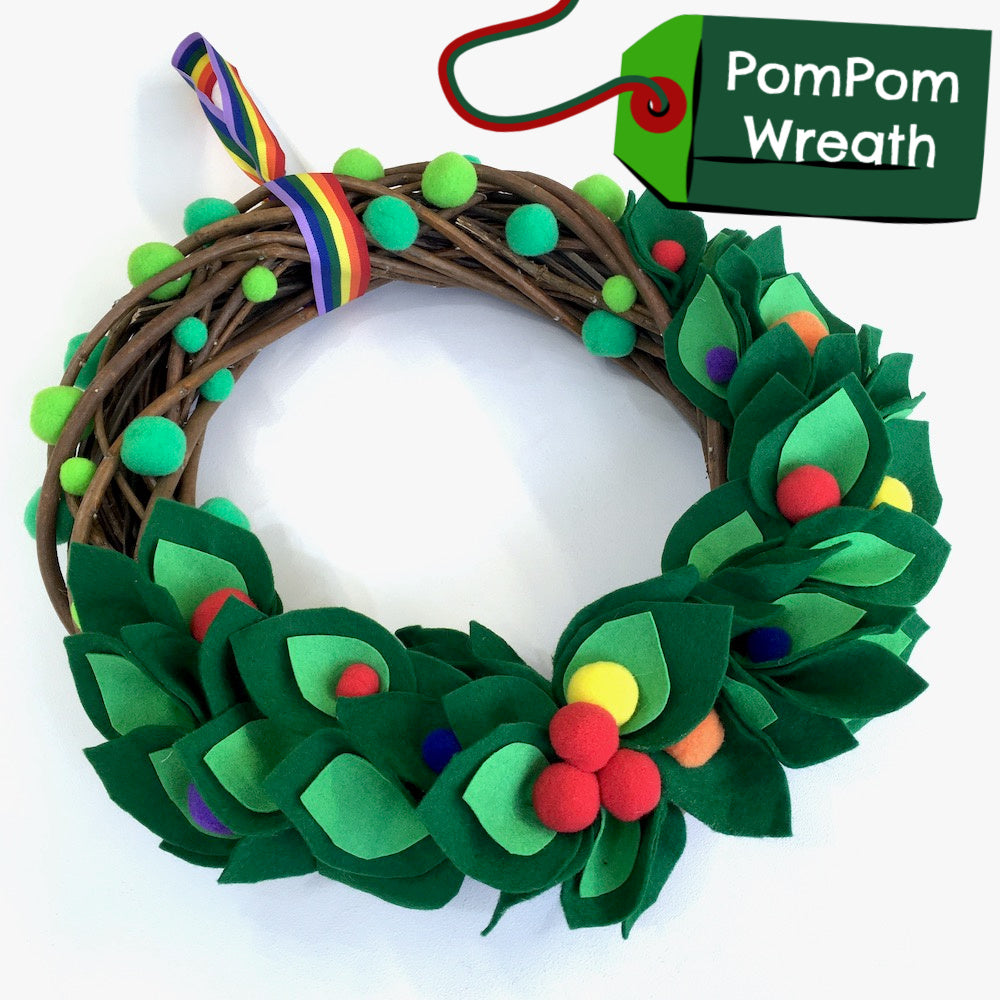
Christmas is fast approaching and I've been thinking of making a wreath with our gorgeous pompom balls for a while now. I wanted it to be an indoor wreath, super bright and colourful. We stock this great natural willow wreath base. I didn't want it to be fully covered with the leaves, just enough to show a bit of the natural wooden base mixed with bright felt and pom poms.
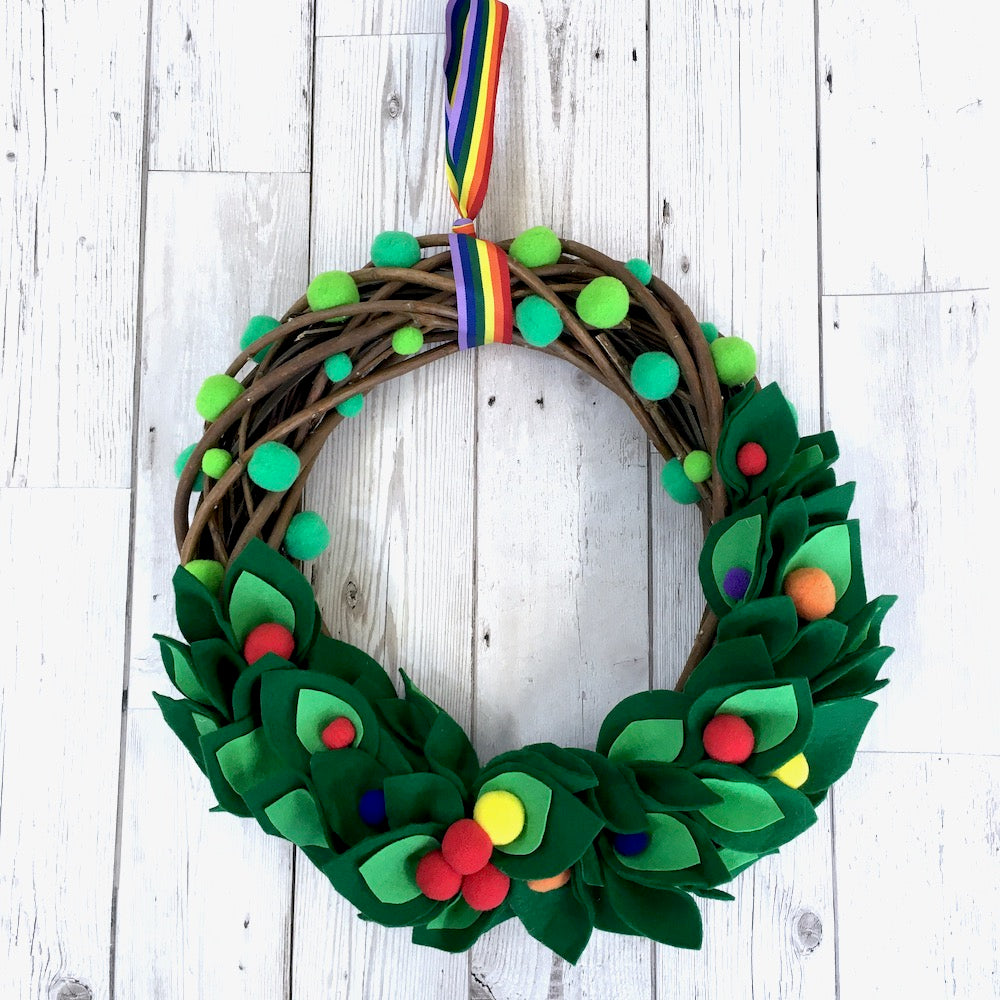

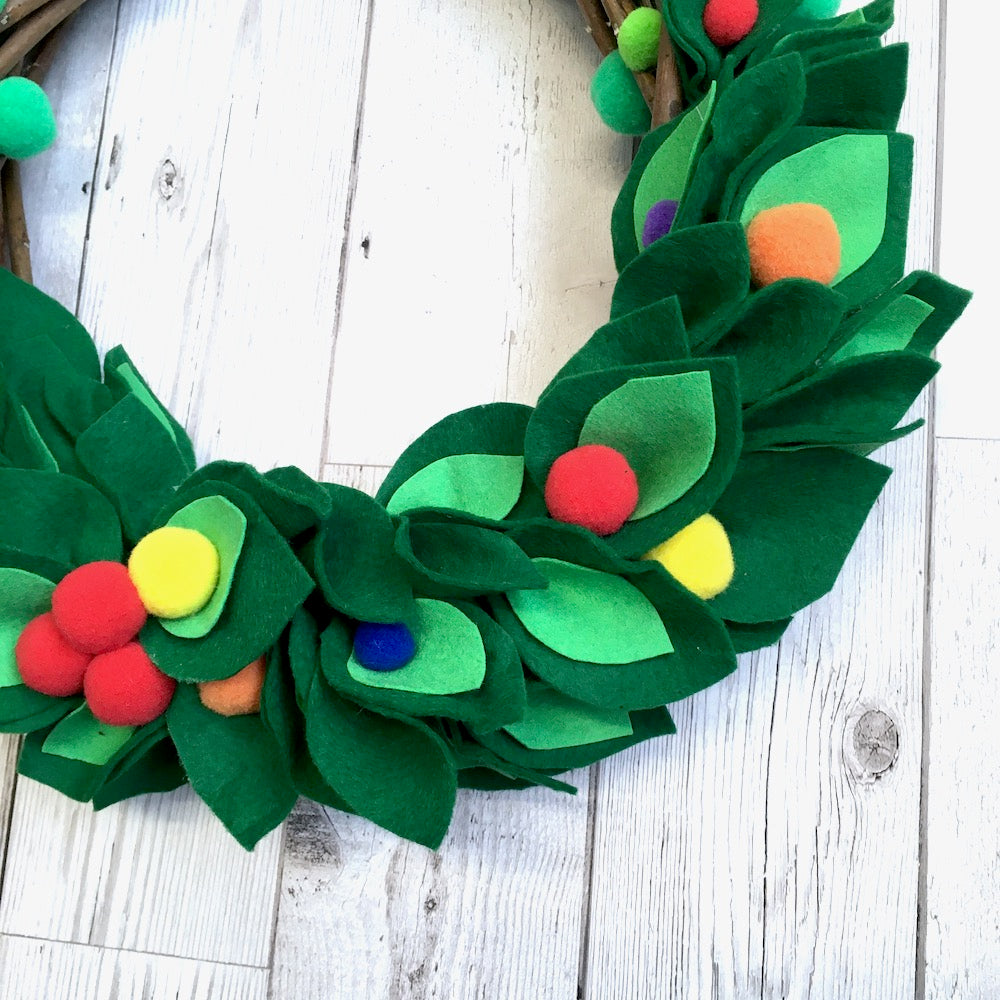
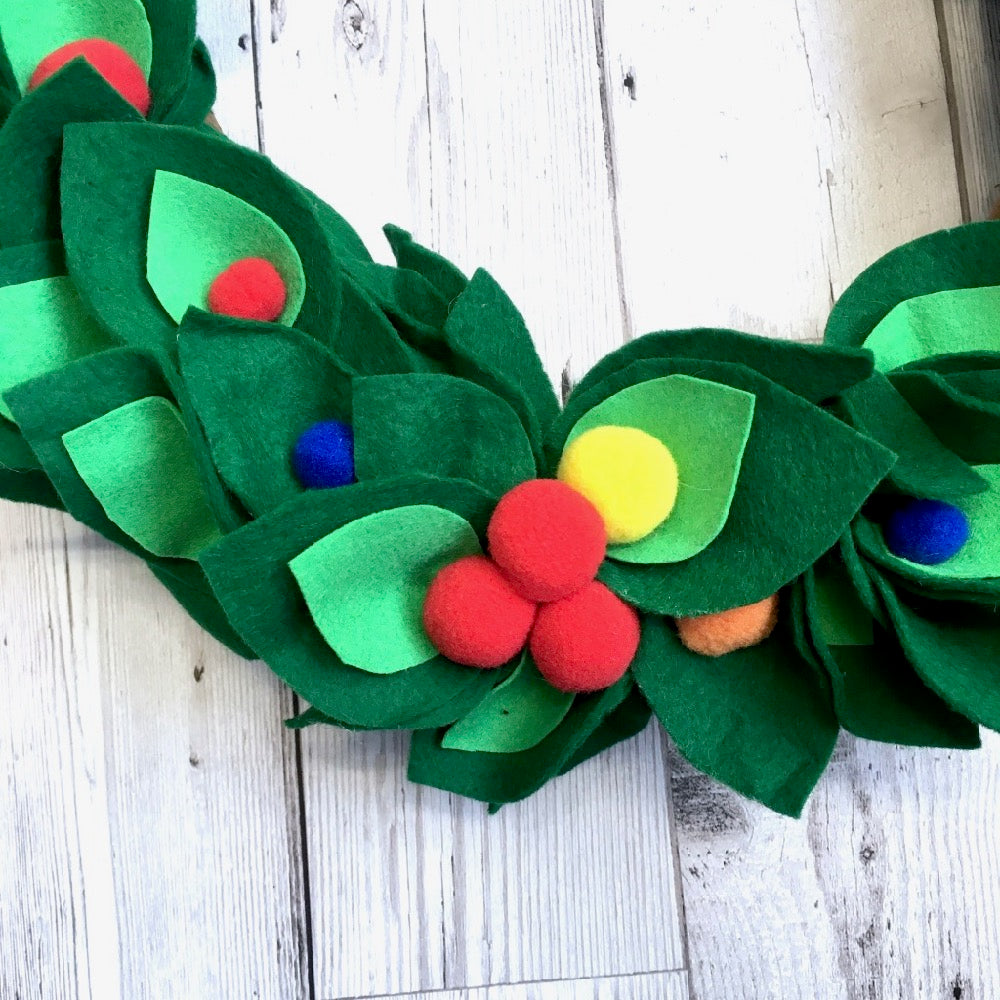
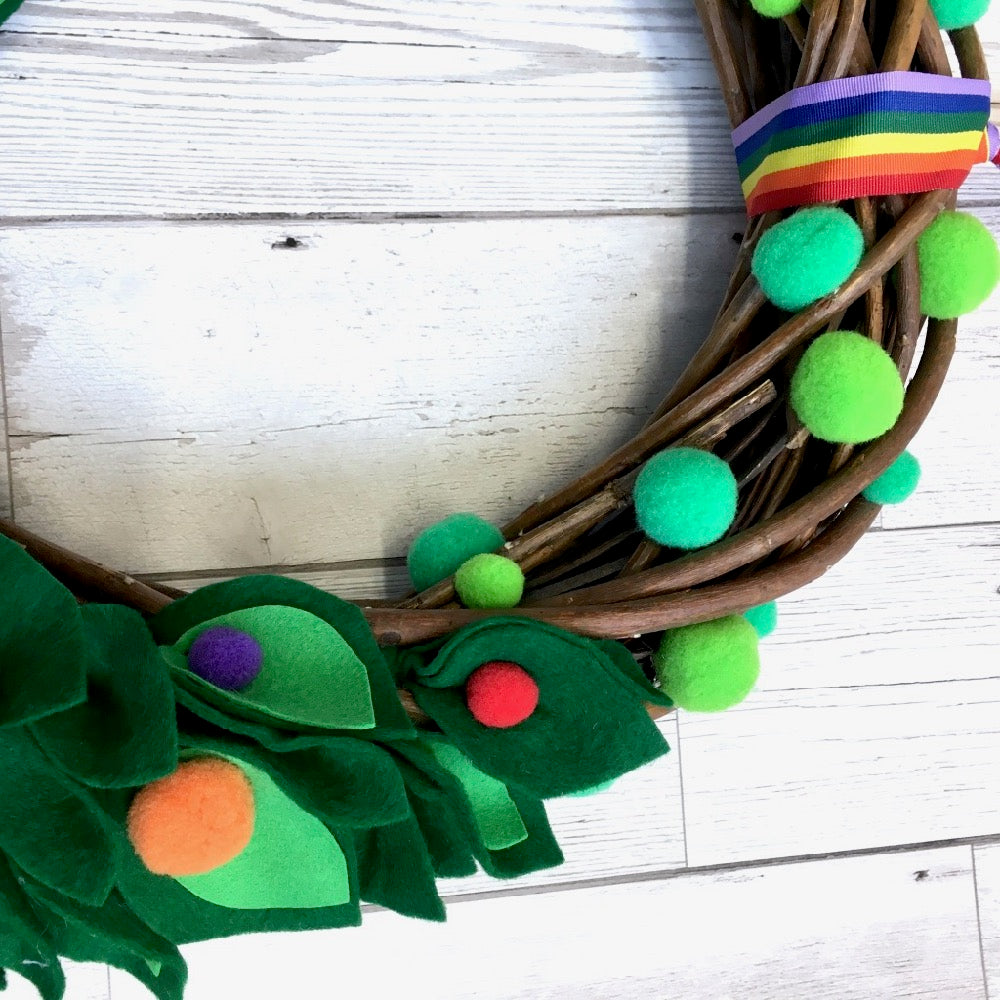
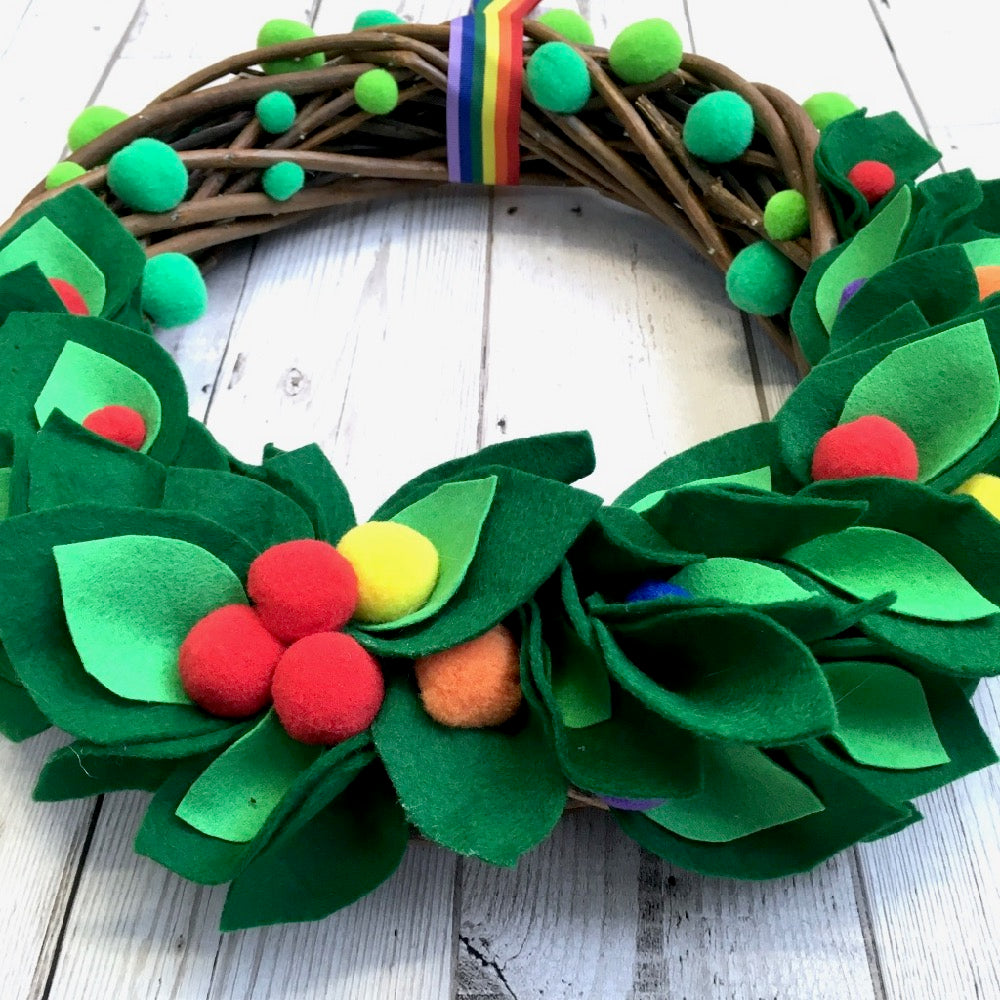
It didn't take me very long from start to finish and the result is quite striking really!
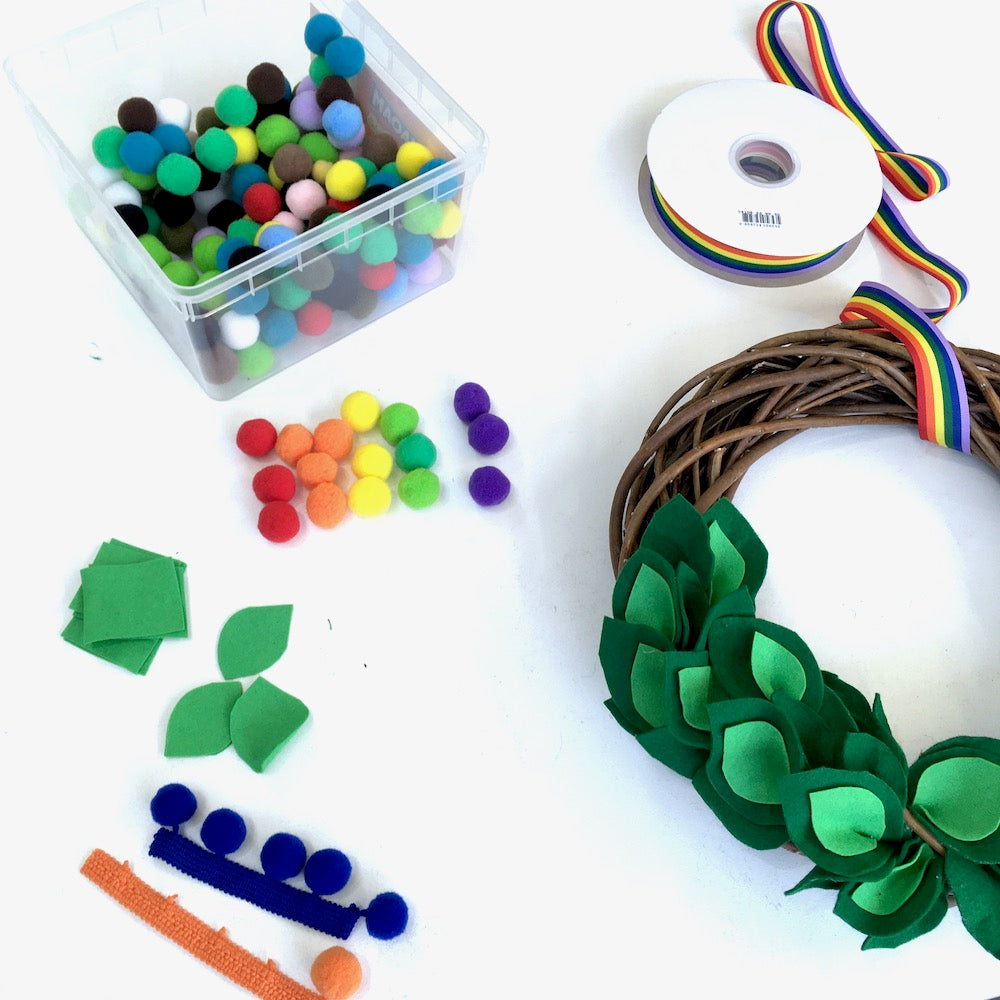
Here is what you need:
- A Natural style Willow wreath base
- Green felt in two tones
- Jumbo pompom balls
- Medium pompom balls
- Rainbow ribbon to tie and hanging
You'll also need:
- Glue gun and glue sticks or other glue
- Scissors or rotary cutter
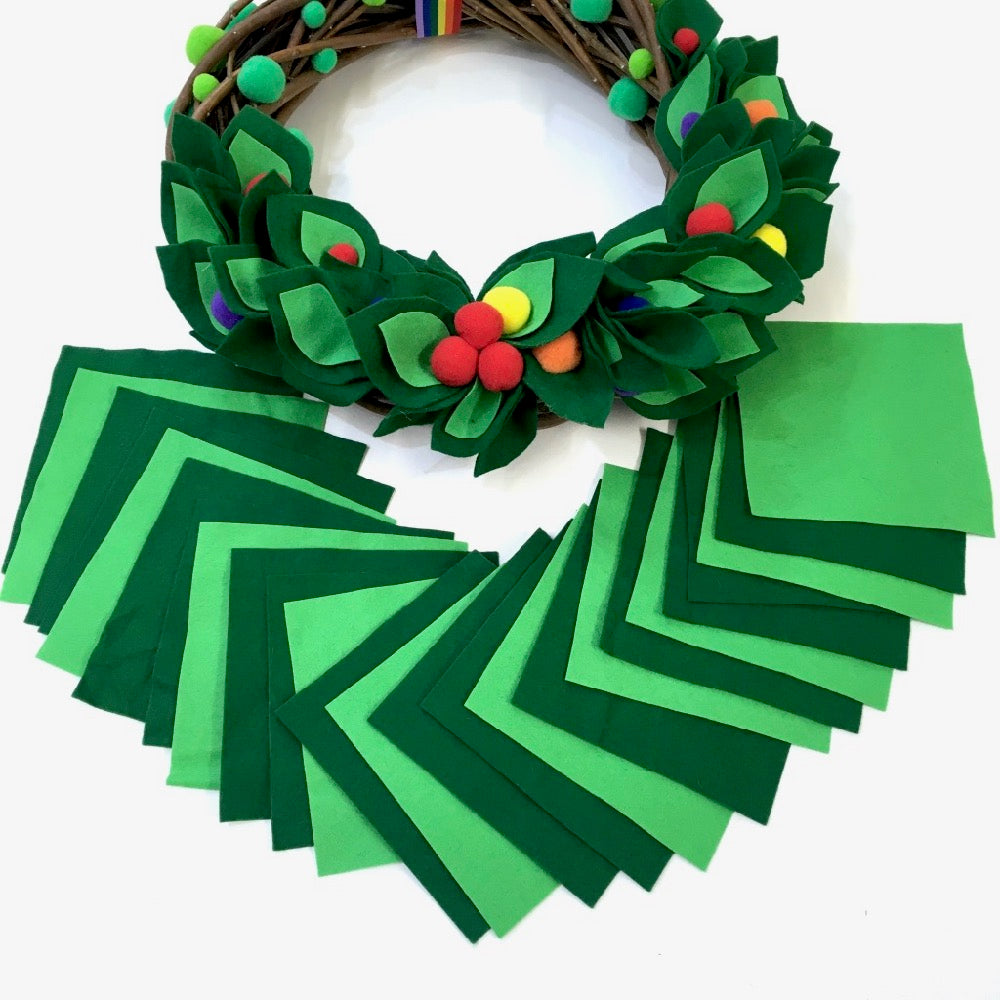
Start by cutting your green felt into squares. To be honest, I wasn't very strict with the measurement and cut all mine by eye. I wanted it to look organic and not exactly the same. The dark green are around 4 to 5cm square and the light green ones are just a bit smaller, maybe 3 or 4cm square. I used my rotary cutter on a mat to cut the squares but scissors also work fine, just not so speedy.
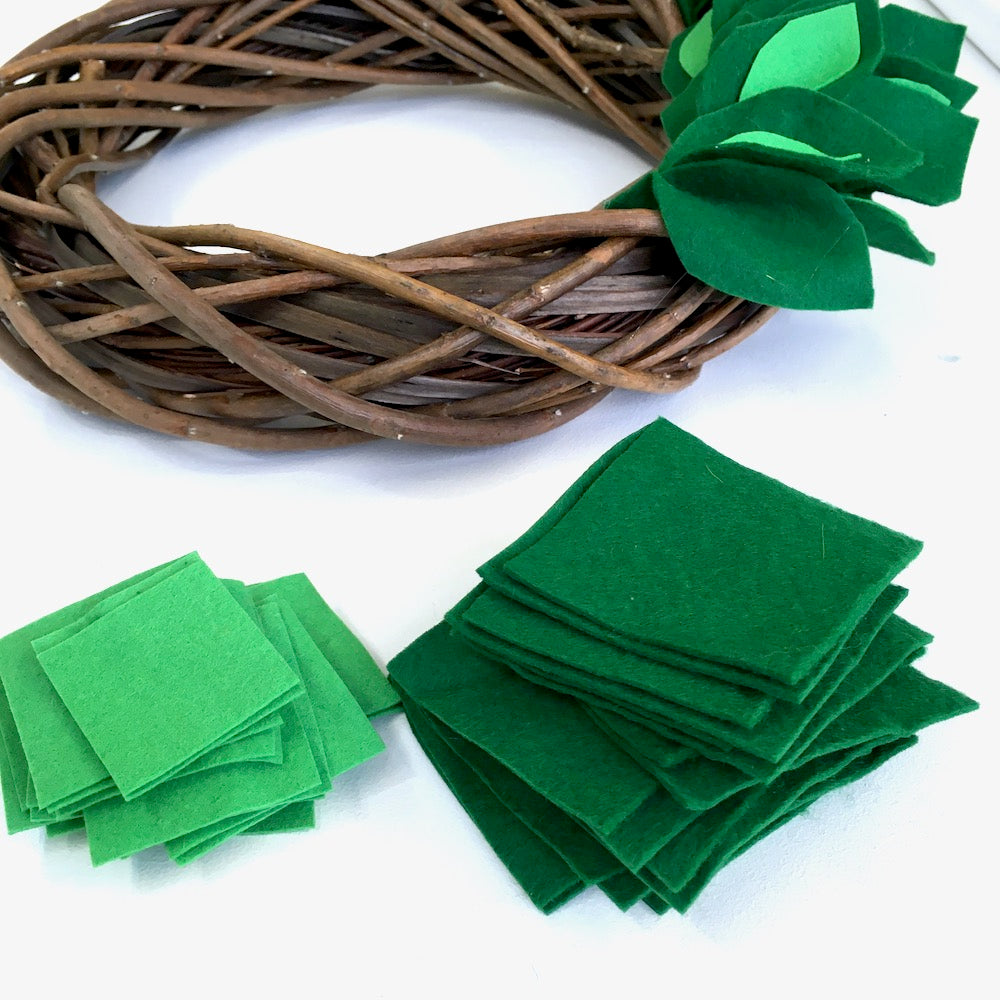
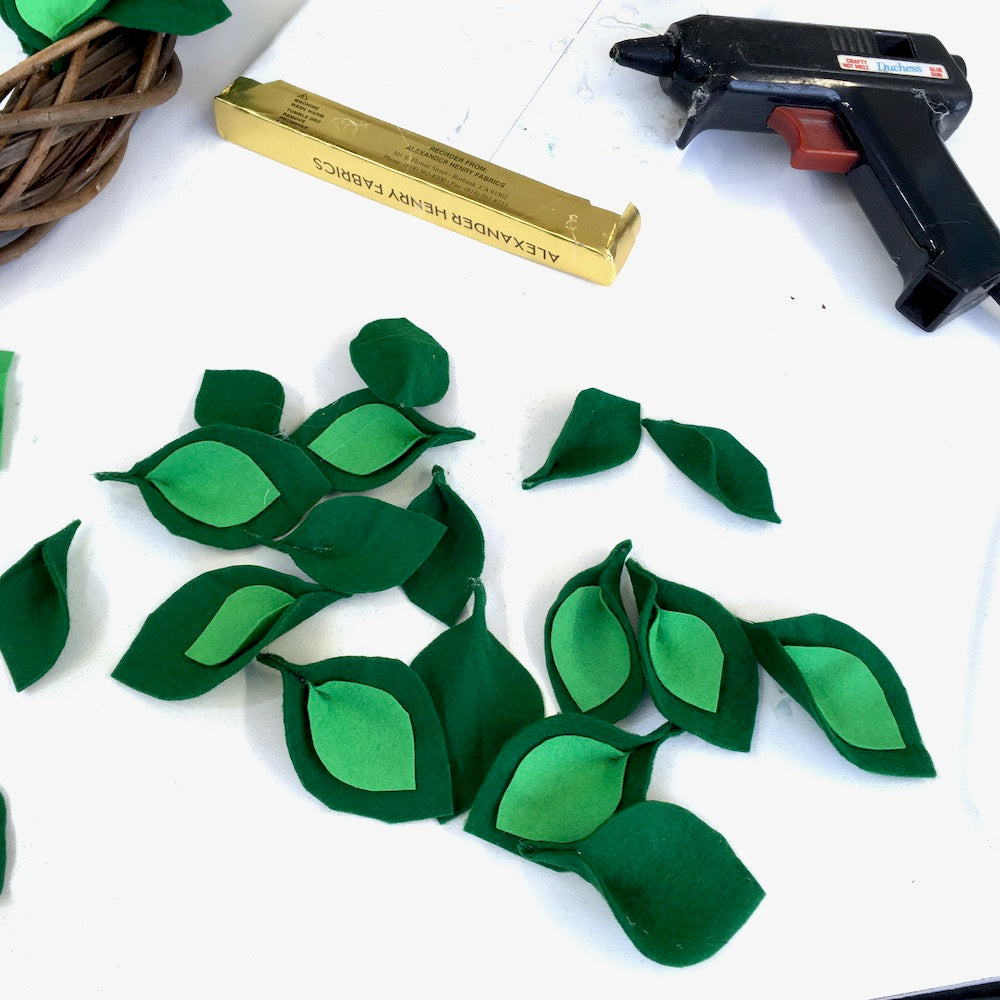
Now you've got a big pile of squares, you just have to round the sides and turn them into leaves. I folded them in half and rounded the joined corners in half.
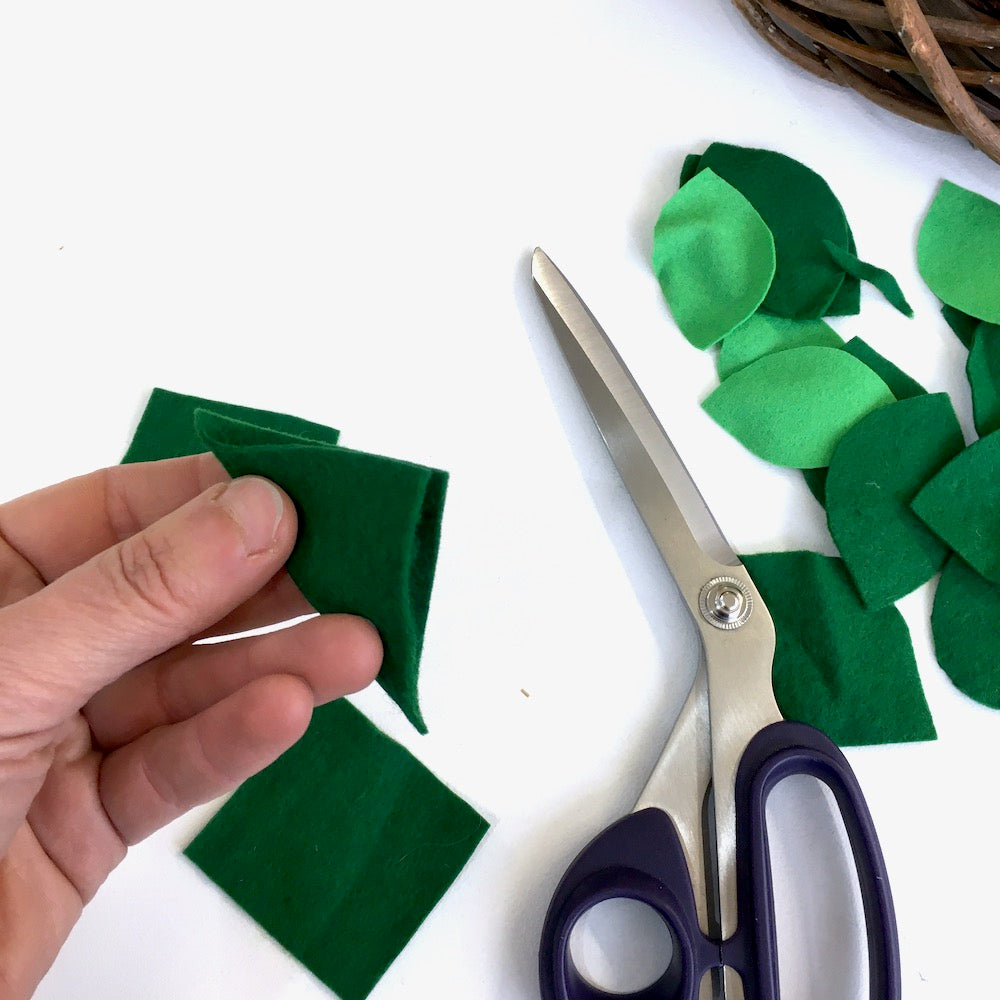
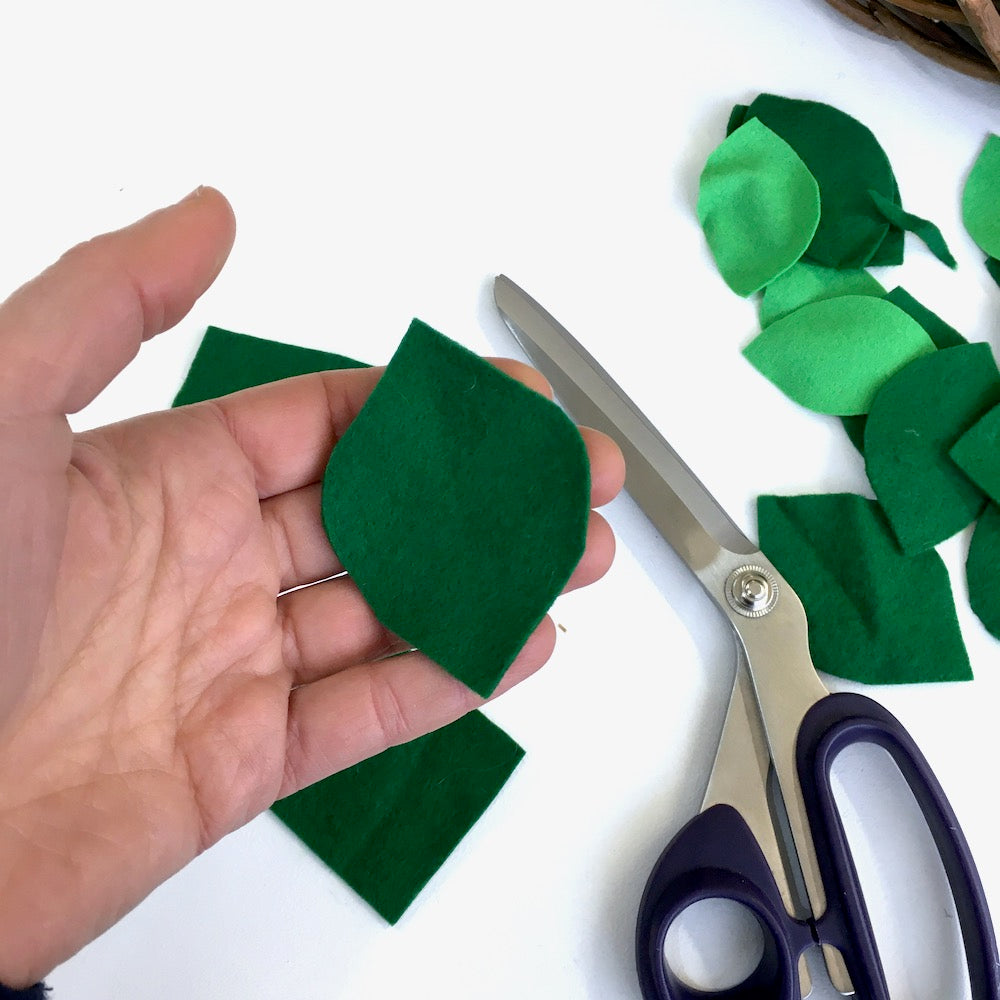
Keep doing that to all of them until you have turned all the little squares into little leaves.

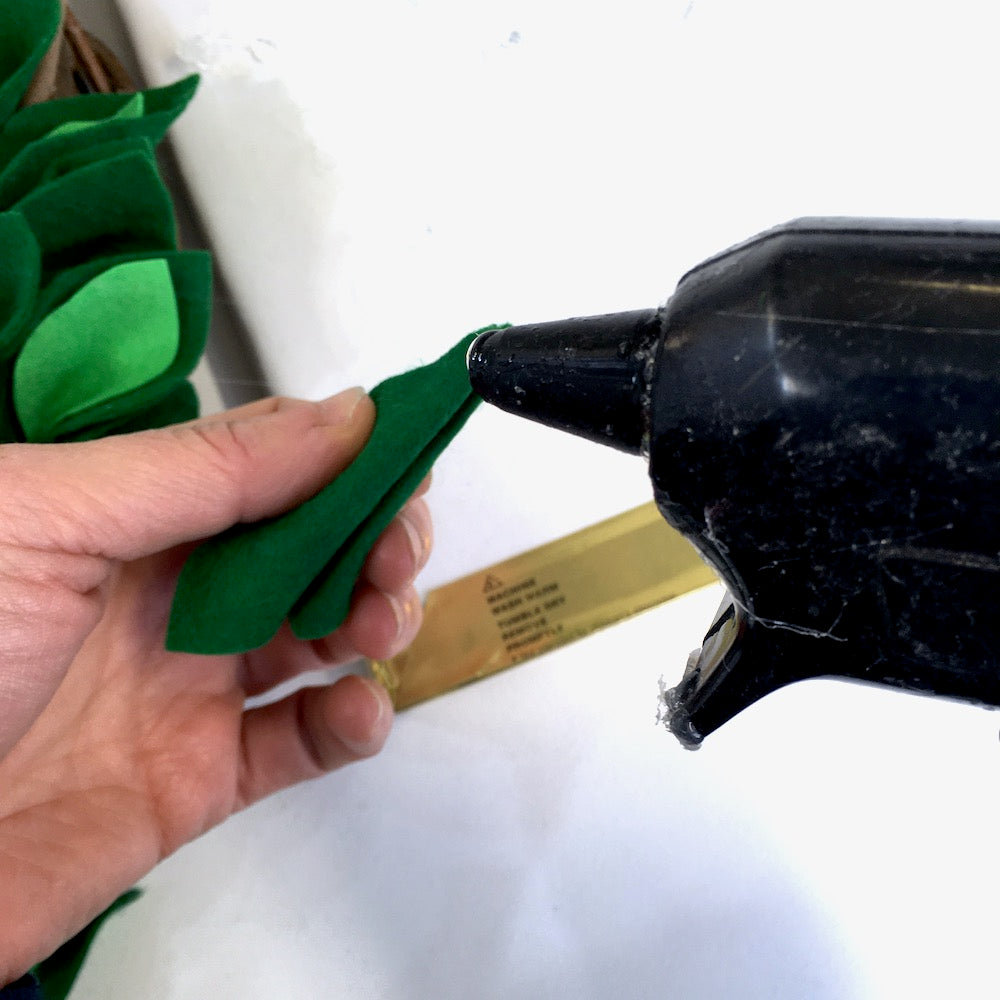
Now put a bit of glue in one of the leaf corners and press it closed until it holds.
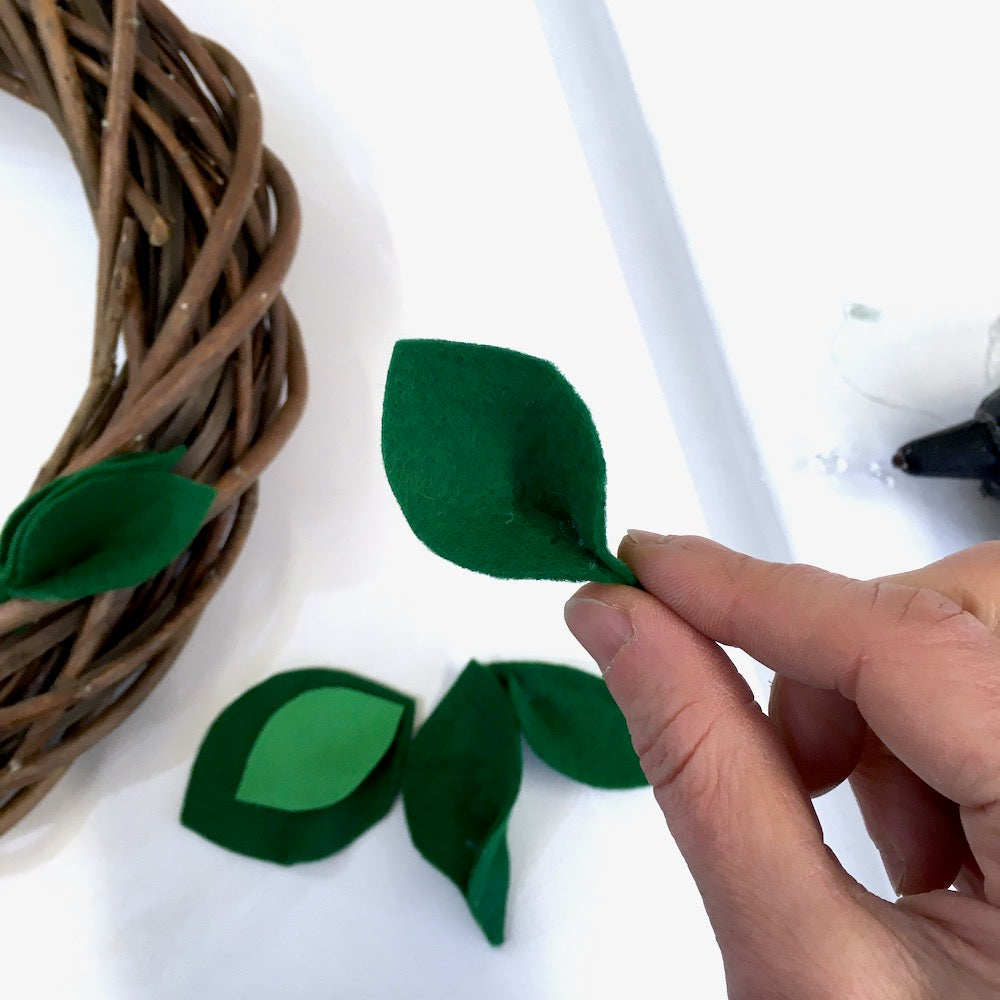
Hold two leaves together, apply some glue at the stem and glue to the wreath.
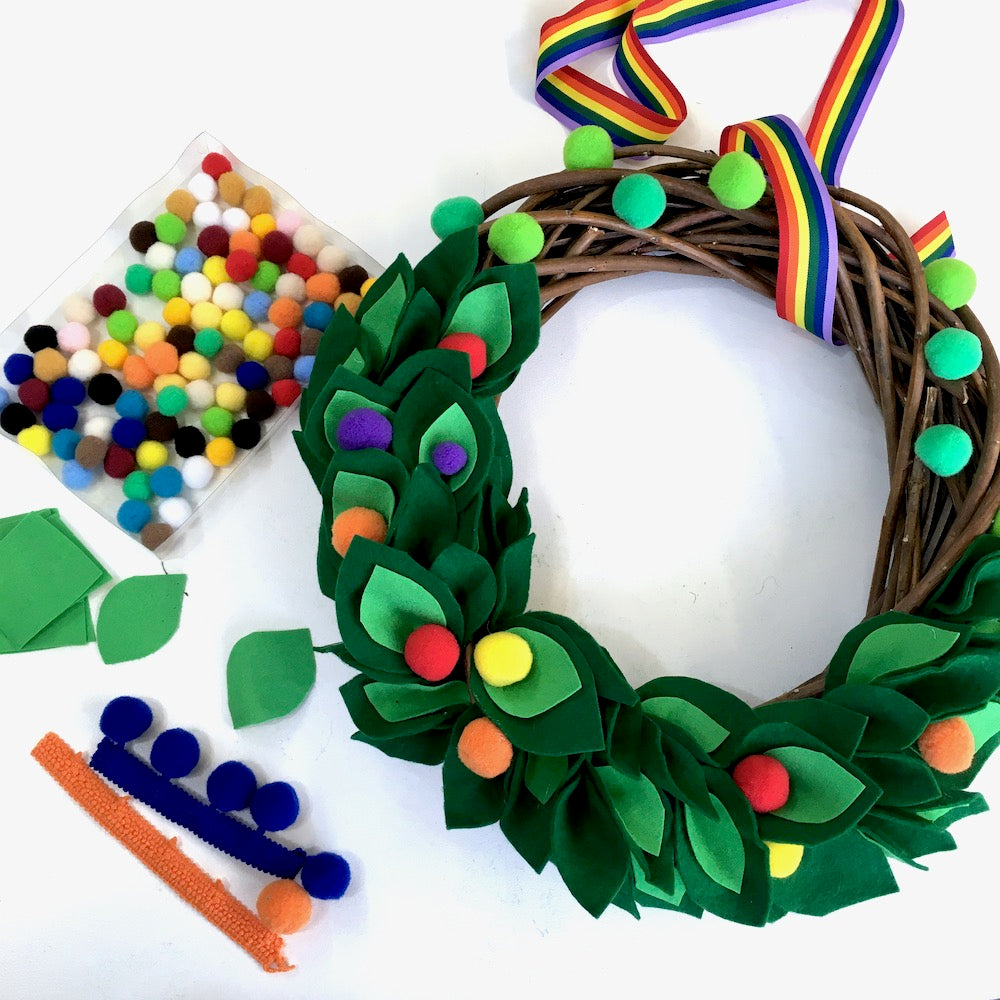
As you can see, I've also glued the light colour felt leaves to the inside of some of the larger dark green leaves, but they could have been separate leaves all together or all the same colour, depending on what look you prefer.
There isn't a method as such, it depends how you want your finished wreath to look. I wanted mine half full of leaves with the leaves joining in the middle, so this is where I placed the first one, you basically keep filling the spaces up to one quarter of the wreath circle. You then start again exactly the same the other side of the wreath until the leaves meet at the bottom.
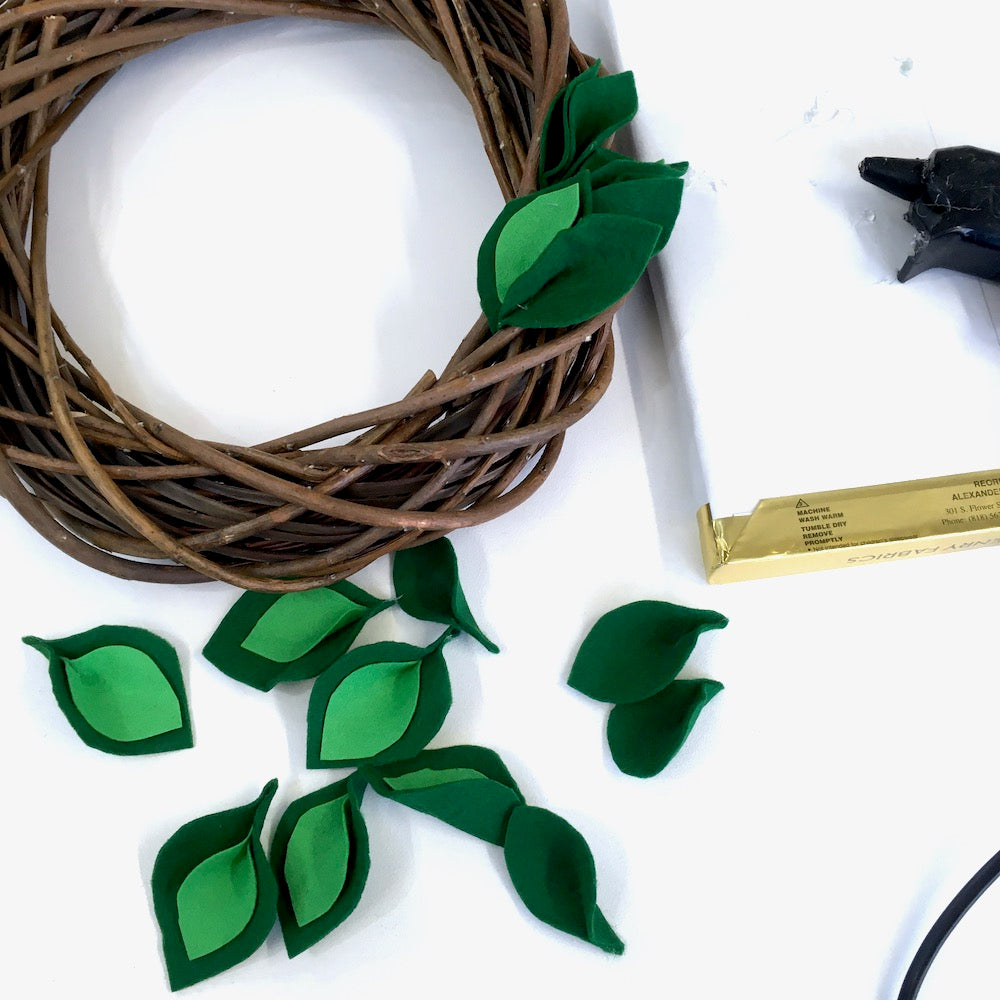
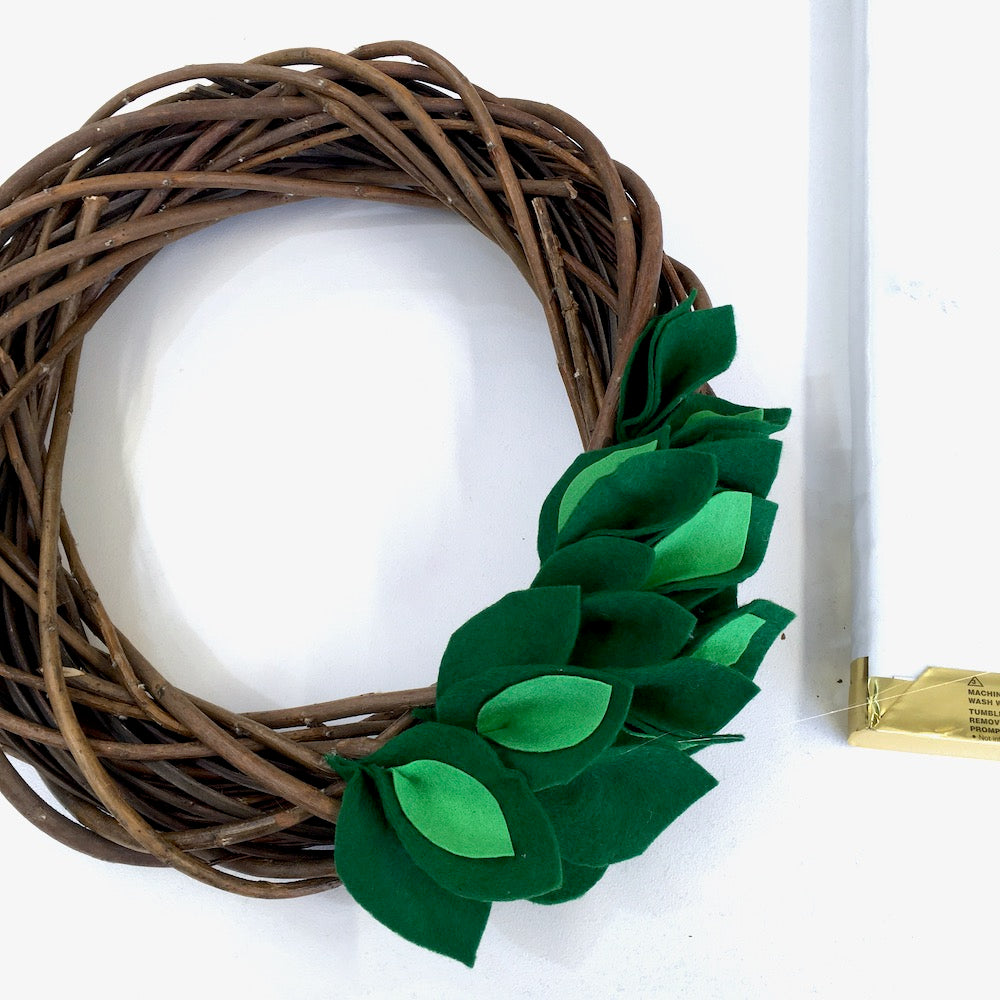
As you can see, an Alexander Henry fabric bolt is the perfect glue gun rest, don't you think? :)

Now there's the fun part! Adding the pompoms!! I have used both Jumbo pompoms and medium Pompom balls. We don't have the pompom balls in orange and royal blue so I just cut them off the pompom trim ribbon. If you cut it quite close, it's not noticeable at all!
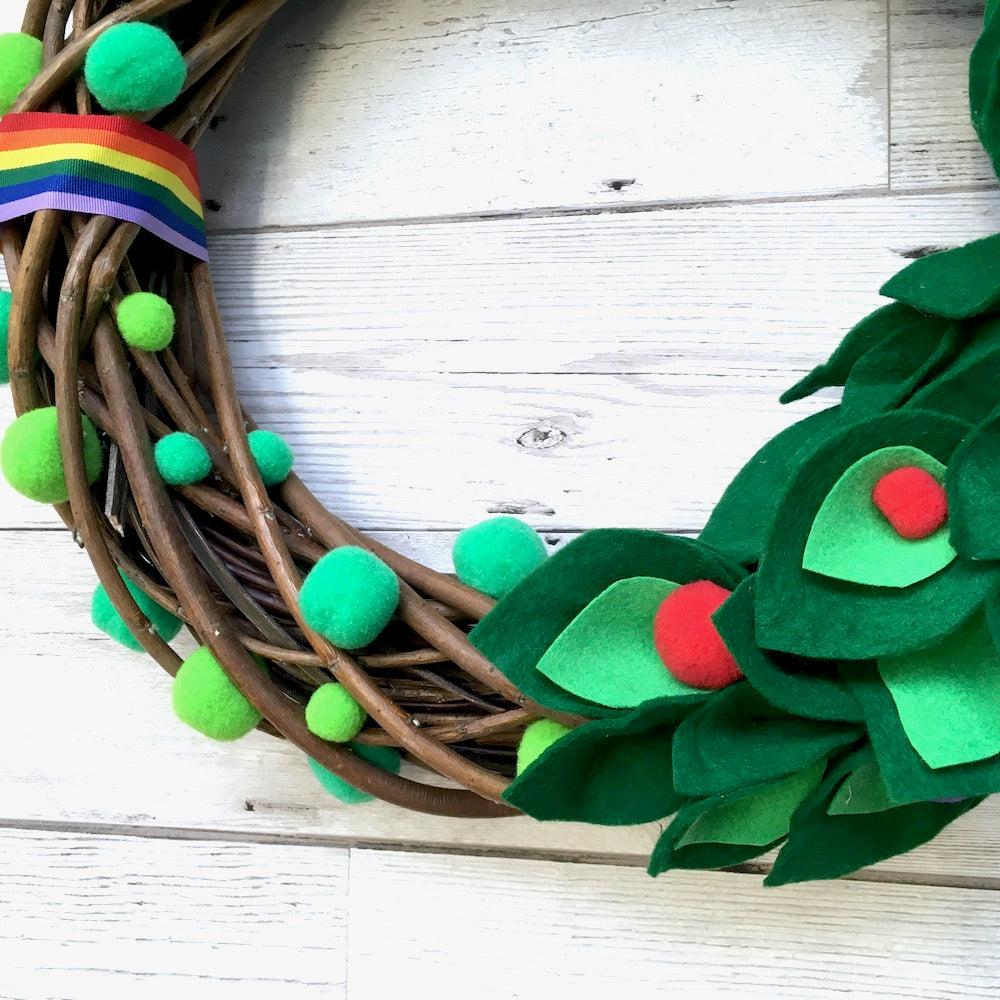
Glue as many, or as little, of the jumbo and medium pompoms inside the leaves and also some more over the bare natural willow base but just in the green tones.
Cut a length of ribbon and stitch the ends together with the wreath in the middle. I used about a 50cm piece, but you can cut a longer one depending on where and how you want to hang your wreath. You will have a large loop of ribbon around the wreath so you will need to give this more of a permanent position. I did this by tying a knot on the ribbon as tight to the willow wreath as possible.
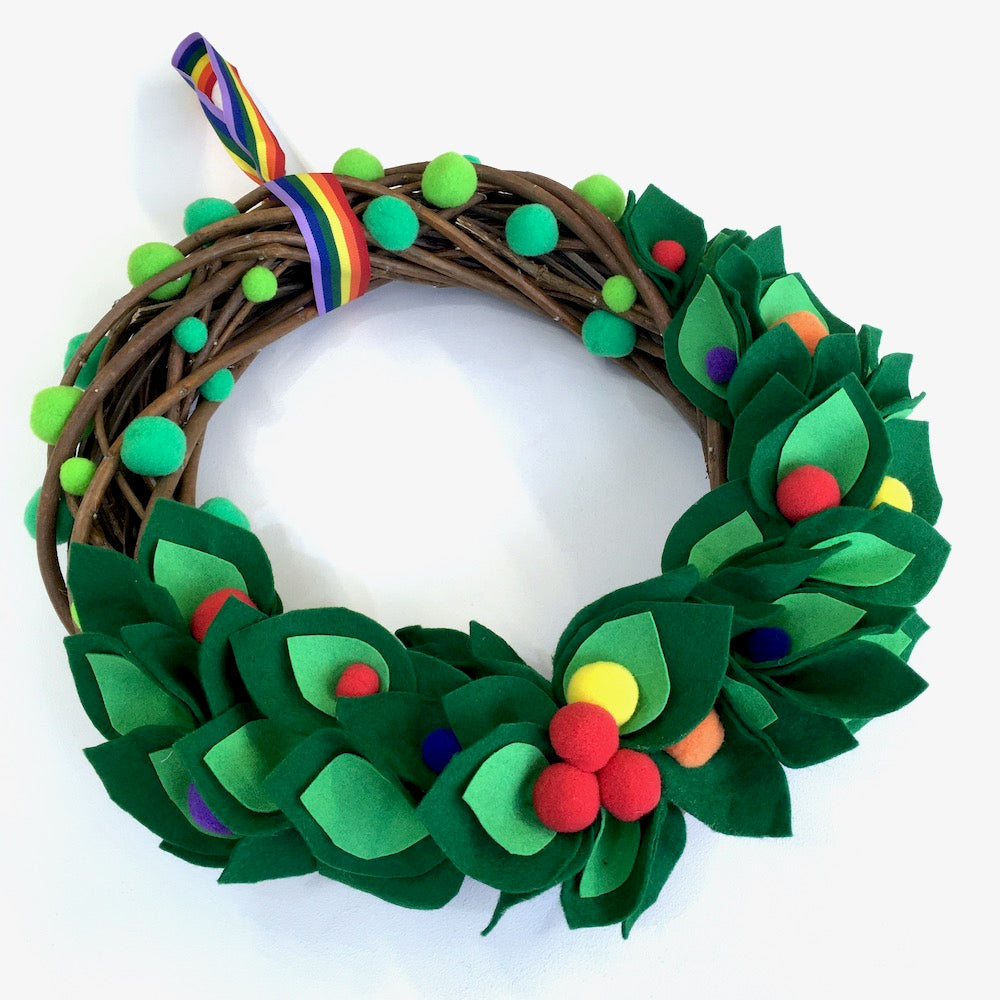
Et voila! Hang your wreath and enjoy the holidays.
It actually looks great above my sewing table amongst all my scissors!
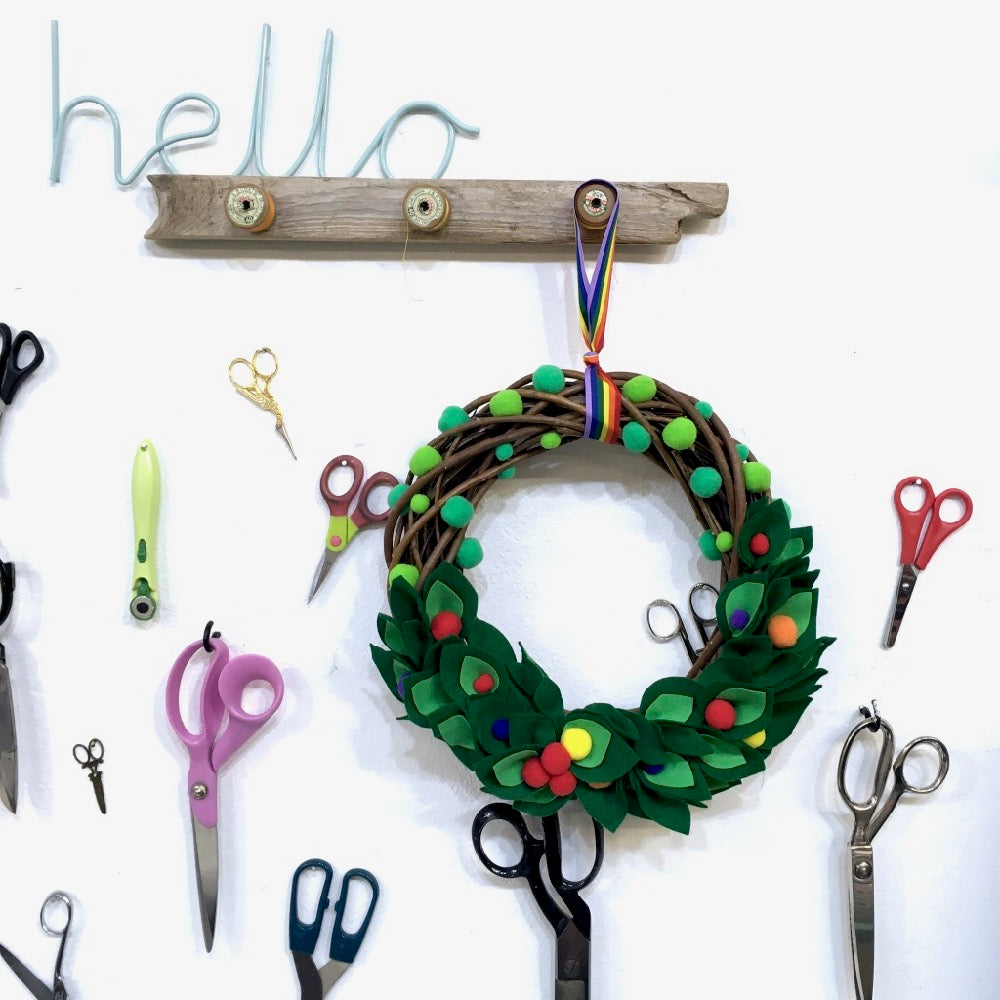

I Hope you enjoy making your wreath. Be creative and don't worry too much about making it look a certain way, just let your creative juices flow, relax, and enjoy your bright wreath!
Happy Crafting,
Monica x


0 comments